Posted on Leave a comment

Acclimating Saltwater Fish

Clownfish in Anemone

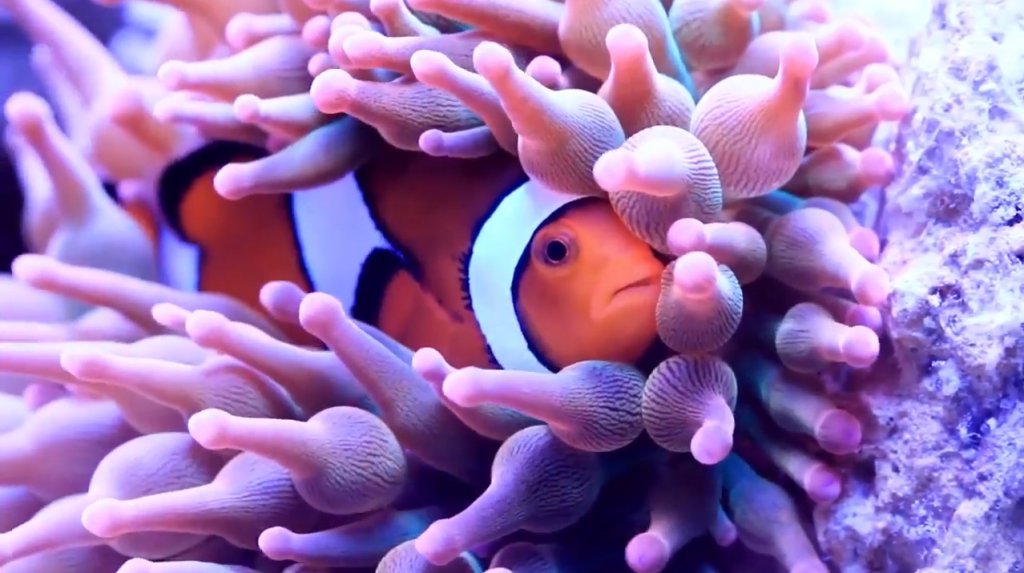
Acclimating saltwater fish to your aquarium is sometimes overlooked as a beginner. You get the fish home from the LFS or local fish store. You assume since the fish is saltwater and you have a saltwater tank that all you need to do is add the fish and water to your tank. Most of the time the water chemistry is never the same between two tanks. Fish need proper acclimation for a comfortable welcome to their new home.

What is Acclimation?

Acclimation is the gradual process of introducing a fish from one tank to another. Its all about the water chemistry. Temperature is mostly always lower at a fish store so they can save money on salt. Certain health issues are reduced for fish that are kept in lower salinity or even hyposalinity. The fish store’s temperature may be pretty close to your tank at home but the temperature drops in the bag that the fish is in drastically. You want to slowly acclimate your new fish to your tanks temperature and salinity.

Why you should acclimate?

If you choose to not acclimate your fish, they may appear fine and healthy at first but in the near distant future they may die a sudden death. Issues like organ failure, rapid salinity change or temperatur change can really be detrimental to a fish’s health in the short term and long term. You should acclimate your fish to make sure they receive the best care possible during the transistion from their old home to their new home.

When to acclimate your fish

Aytime you buy a fish and bring it home you need to acclimate it. You may also need to drip acclimate fish if you are moving them out of a quarentine tank or just between tanks. It just depends on how close each tank’s salinity and temperature is. Ideally you want them to be the exact same.

Beware of bad fish tank water

Never add water from one fish tank to another. You really do not know what is in the water. There could be copper, which is used to treat sick fish or prevent fish from becoming sick. If you happen to add water that has copper in it to your fish tank your corals, invertabrates or other fish could die if the levels are too high. There could also be microscopic pests or pest eggs that can haunt your tank months down the road and you will never realize how they got in there. You want to play it safe and never add a single drop of water from any fish tank to your tank.

The cup method vs The drip method

The cup method

There are two main methods in which you can acclimate your fish. The first one being the cup method involves adding the bag the fish is in to your tank to let the water heat up to match your tanks water. You then open the bag and use a clamp to attach it to your tank. Take half of the water out of the bag and dispose of it, making sure not to let one drop get in your tank. Then, take a cup of your tank water and slowly pour a little bit of it into the bag with the fish at a time.

Add about the equivelent of 2 shot glasses every 5 minutes. Once the bag is to its original volume, discard of half of the water and repeat the process over again until the temperature and salinity in the bag match your tank. This could take several hours so you will need tp practice patience and take your time. If you are impatient or just do not have the time, the drip method may be more suitable for you.

The drip method.

The drip method involves additional items and additional setup than just a cup and a clamp. You will need a smalll bucket such as these 2 1/2 quart paint mixing buckets from Home Depot of Lowes, a small heater, aquarium airline tubing, adjustable airline valves, two clamps and a cup.

Put the fish and the water from the bag in the bucket below the water level of your aquarium. Add the heater and make sure its plugged in. The heater I linked to above works very well for temperature acclimating small amounts of water. Take out as much water as you can from the bucket and discard of it. Make sure to leave enough that the fish can still swim normally and keeping the heater fully submerged as well.

Cut a piece of aquarium airline tubing. This will go from your tank to the bucket. Add the adjustable airline valve to one end and put the other end in your aquarium so you can start a siphon. Clamp the airline tubing to your tank so it does not fall out, create a siphon on the other end of the tube by sucking on it. Once water goes over the edge of your aquarium, quickly put the other end of the tubing with the adjustable valve on the inside side of your bucket. Use a clamp to keep it in place.

Now you can adjust the flow coming from your aquarium to be about a drip or two a second. The longer you the fish drip acclimate the better it will be. Check on the bucket periodically to make sure it has not overflowed. You may also have to use your cup to pull out water, lowering it in the bucket so more water from your aquarium can drop in. Once the bucket’s temperature and salinity match the aquarium the fish is going into, you can take the fish out and put it into your aquarium. Remember do not add any water from the bucket to your aquarium.

pajama cardinalfish

Ammonia Spikes

When you order fish online, ammonia builds up in the water during transit due to the fish using the bathroom in the bag. Once your fish arrive you open the bag and the fresh air mixes with the water and the ammonia quickly becomes toxic to the fish. You cant drip acclimate these fish, you cant use the cup method to acclimate them. What do you do?

Prior to ordering the fish you need to find out what salinity the fish will be in from the vendor. Hopefully your tank matches perfectly. If not you need to setup a temporary holding tank or bucket that matches the vendors salinity level. Also make sure this temporary tank or bucket is heater to match your main aquarium. Once the fish arrives flot the bag in the temp tank or bucket for 20 minutes. Open the bag and immediately check the salinity of the water. If it matches, take the fish out and put it directly in the holding tank. Let the fish settle for an hour to get his bearing straight. Then you can add it directly to your main tank.

If the salinity in the bag does not match what the vendor tells you then you will need to quickly adjust the salinity of the holding tank so it matches. You can lower the salinity by adding rodi water to the holding tank or raise the salinity by adding premixed saltwater to the holding tank. Most of the time fish purchased online will come in lower salinity water. Once the bag water and the holding tank salinity matches, add the fish in the temp tank/bucket. Let it rest for an hour, then add it to your main aquarium.

If you fail to do the above to fish purchased online or fish that have been in a bag several hours your fish could die very soon up to a few days. Ammonia causes a fish gills to burn and not be able to breath oxygen. Ammonia also causes organ damage to your fish. Your fish may die a few days later due to this and you will wonder why it died suddenly.

Monitor your fish

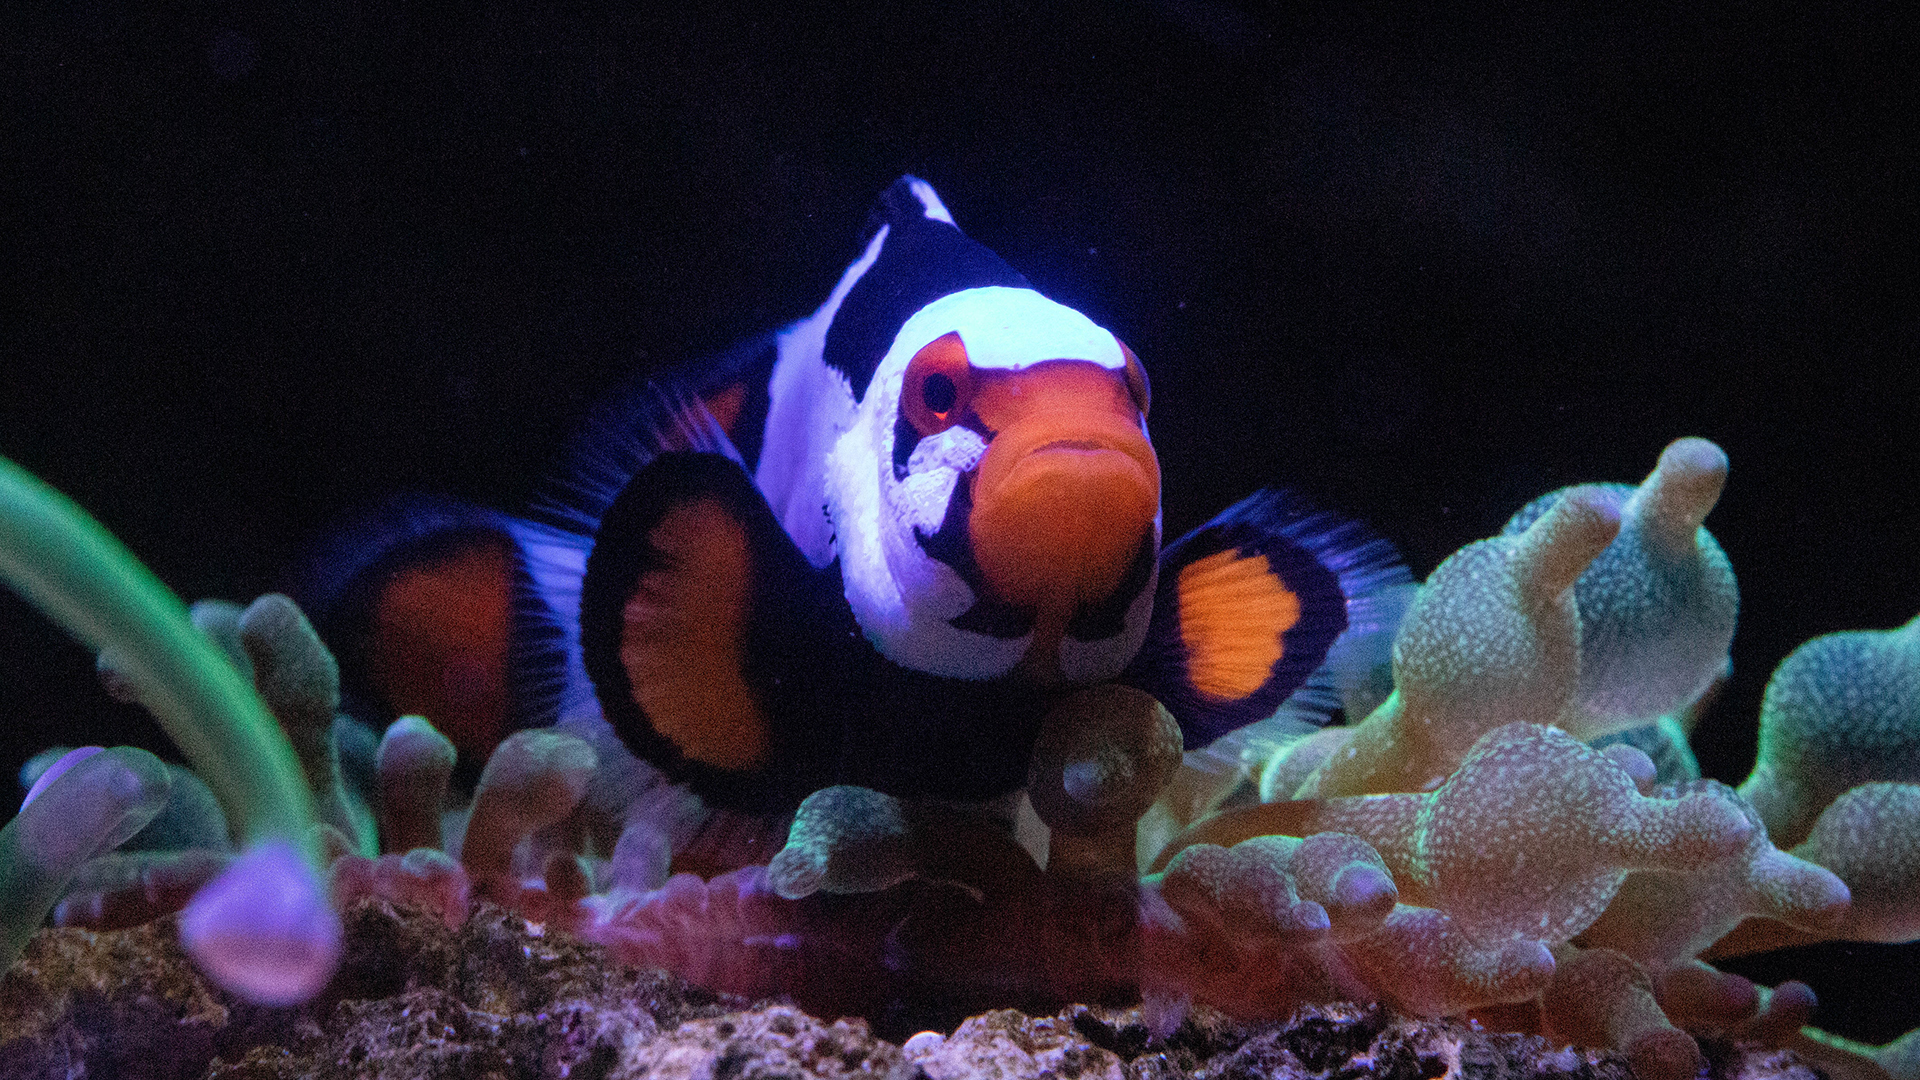
Closely monitor your new fish for the next several days to ensure it is swimming correctly, doesent have any signs of stress or illness and is eating. It is normal for a fish to not eat a day or two after you get it. Its most likely scared and trying to find a safe spot to hide from the other fish in your tank for safety reasons. Once it gets adjusted and feels safe again it will come out to eat.

Conclusion

Drip acclimating a fish can be time consuming but its very easy compared to other things we do in the hobby that do not involve a life. Once you learn the simple ins and outs of acclimating fish its not very hard or time consuming at all and becomes second nature. Take the time so you can enjoy your fish and see them swimming happily in your tank for many years to come. Your fish will thank you!


Posted on Leave a comment

Cycling a Saltwater Aquarium

clownfish in anemone

Cycling a saltwater aquarium requires patience and is the very first test to a successful reef tank. After you have meticulously designed your rock aquascape, added your sand and filled your tank with saltwater you will need to let nature take its course and wait for the biological process to commence. You will hear this often as a beginner, “A saltwater aquarium is all about patience. Nothing good happens fast in reefing.”

What is the “Nitrogen Cycle”

The Nitrogen Cycle is the process of a bacteria breaking down and converting ammonia into nitrite, and then nitrite into nitrate. Ammonia is created by fish waste, fish food, dead livestock and more.

The Nitrogen Cycle
Users Eliashc, Ilmari Karonen on en.wikipedia, Public domain, via Wikimedia Commons

Getting the cycle jump started

In order to start the cycle you will need a bacteria source and an ammonia source. It used to be common practice not too long ago to just toss a cheap disposable fish in a newly setup aquarium and let that fish eat and produce ammonia to start the cycle. Today there are newer methods that do not involve giving a fish a creul and slow death sentence. Ammonia will burn the gills of a fish and cause it to have a hard time breathing, drinking water and eating. We now bottled bacteria such as Microbacter7 and ammonium chloride to add ammonia to the aquarium in low concentrations to get the cycle jump started.

How long does the cycle take?

Generally, the cycle can take anywhere from hours to a month depending on which bacteria you use and how you help the cycle along. You can either use Fritz TurboStart live bacteria and add a fish immediately (which is not creul with this specific bacteria) to basically instantly cycle your tank on day one. Or you can go the more traditional route which is to add Microbacter7 or Dr Tims One and Only bacteria and keep your ammonia elevated by dosing ammonium chloride to around 2-3 ppm. This method normally takes a few weeks to a month to complete the cycle.

Live bacteria vs dormant bacteria

Live Bacteria

Fritz TurboStart is a relitively new bacteria to the market in recent years and it has brought a new way to cycle to the saltwater hobby. Many people have had success with just adding TurboStart to their tank and adding a fish immediately. This bacteria is very alive and works by instantly converting ammonia to nitrite, then nitrate. It must be kept refridegrated and has a shorter shelf life. It is also pretty expensive compared to other dormant bacterias.

Dormant bacteria

There are several dormant bacteria brands on the market that will cycle your aquarium, just not as fast as TurboStart. Some of the more popular dormant bacteria are Microbacter7 and Dr. Tims One and Only. These bacteria take longer to cycle the aquarium due to them being in a dormant state and needing time to reproduce and colonize your rock, sand and filtratrion. To feed these types of bacteria you will need to add ammonium chloride to your tank. After a few weeks or months the cycle will be complete and you can add your first fish.

Tracking the cycle with test kits

If you choose to take the long route by using dormant bacteria you can track the progress of when the cycle is complete by testing regularly for Ammonia, Nitrite and Nitrate. API Saltware test kit has each test you need for a great price. This test is not the most reliable or accurate but it will get the job done. After the cycle is complete you will likely never use this test kit again before it expires, so you really do not need to buy a more expensive test kit. Test every 2-3 days to track the cycle’s progress to know once you can add your first fish.

Conclusion

Cycling a saltwater tank is detrimental to the aquariums overall success. It is the building blocks of the tanks micro biome. It is what keeps fish and other inhabitants alive. Dont rush this process. Throughout these crucial days, weeks and months your tanks bacteria biodiversity will change, grow and shrink. Dont rush it. You cant force nature to go any faster than it wants to. Its can seem like a long process but taking your time is worth it in the end. Afterall, our pets depend on us to get it right for their sake.

Posted on Leave a comment

Aiptasia vs Peppermint Shrimp

aiptasia vs peppermint shrimp

Pest Anemones

Peppermint shrimp are one of the best predators to combat aiptasia. In this experiment, I test how fast peppermint shrimp will eat aiptasia. If you have been in the saltwater aquarium hobby for any period of time you have most likely encountered aiptasia. These pest anemones are undoubtedly one of the most annoying parts of keeping a saltwater aquarium next to green hair algae. There are several methods you can use to get rid of aiptasia, some natural and some chemical. All of the methods will work to a degree but I\’ve personally always been a fan of the natural methods. They generally will not harm your tank if you do a little research first.

Peppermint Shrimp are natural predators

Some notable natural methods include Peppermint Shrimp, File Fish, Copperband Butterfly fish and Berghia Nudibranch. I have tried all of these with the exception of a Butterfly Fish. The most successful method of them all that have worked for me was adding a File Fish to my aquarium to eat the pest anemones. However, once the aiptasia were gone the file fish developed a taste for my Acan Lords and zoanthids.

Peppermint Shrimp vs Aiptasia Experiment

I recently started a 10-gallon standalone aquarium with 5 Peppermint Shrimp to see if they would help rid my rocks of all the aiptasia I neglected to control over the past year. This tank is only meant to serve as a cleaning station for my rock prior to adding the shrimp in my aquarium. I want to see if the shrimp will first of all actually eat the aiptasia. Then, if they pass that test throw in some cheap soft corals, maybe a mini zoanthid colony and even a cheap hammer coral to see if the peppermint shrimp will go after corals as well. If the corals survive the entirety of this test while the aiptasia is still present and after there is no longer any noticeable aiptasia, I may consider adding the shrimp to my tank.

Experiment Results

I have been taking pictures of the progress the shrimp have made since I started this little experiment. The aiptasia elimination process started out slow, but I believe this was due to the shrimp hanging out on the underside of the rock eating what they could find there first. After there was no more food left under the rock they started migrating towards to the top of the rock. I am not supplementing with any food, it’s strictly an aiptasia diet for these shrimps. If I start to feed them, they will become complacent and just wait for the easy meal. Here are some of the progress photos up to date of the tank.

7.21.22
7.21.22


7.22.22
7.22.22


7.23.22
7.23.22


7.25.22
7.25.22


7.26.22
7.26.22


7.31.22
7.31.22


8.1.22
8.1.22


If you want to make your own peppermint shrimp tank to get rid of aiptasia, here are all of the items I used:

  • 10 Gallon Aquarium – If you time it right, you can pick one up for 50% off.
  • Clamp light – Ambient room lighting will work just fine if you do not want a light.
  • Air Pump – This is the best bang for your buck. It’s cheap and very quiet.
  • Airline tubing – This is not the best airline but it’s the cheapest.
  • Check Valves – This will save your tank and house if your power goes off.
  • Sponge Filter – This will keep your tank cycled, and your shrimp will hang out on it.
  • Air stone – I only use these to reduce the bubble size coming from the sponge filter.
  • Heater – I prefer to use the smaller auto set heaters vs an adjustable heater.
  • Acrylic Lid – I like to use this to avoid the salt creep created by the sponge filter.

You can also use some of the above items to culture phytoplankton and copepods if you wish, so dont toss them out.

Final Thoughts

In conclusion you can see the shrimp are doing a great job at eating away the aiptaisa. It’s been less than 2 weeks and the aiptasia is already about 90% gone. A side effect of all the aiptasia gone is I now see another ugly side of the rock that I will have to battle next; Valonia or more commonly referred to as bubble algae. I may evolve this experiment once the aiptasia is gone and setup another test tank with just an emerald crab to document how long it takes for the Valonia to disappear. After that I may also set up a third test tank and add a couple blue leg hermit crabs to document them eating the hair algae. Only time will tell where this rock will end up next. Check back often to follow along!